


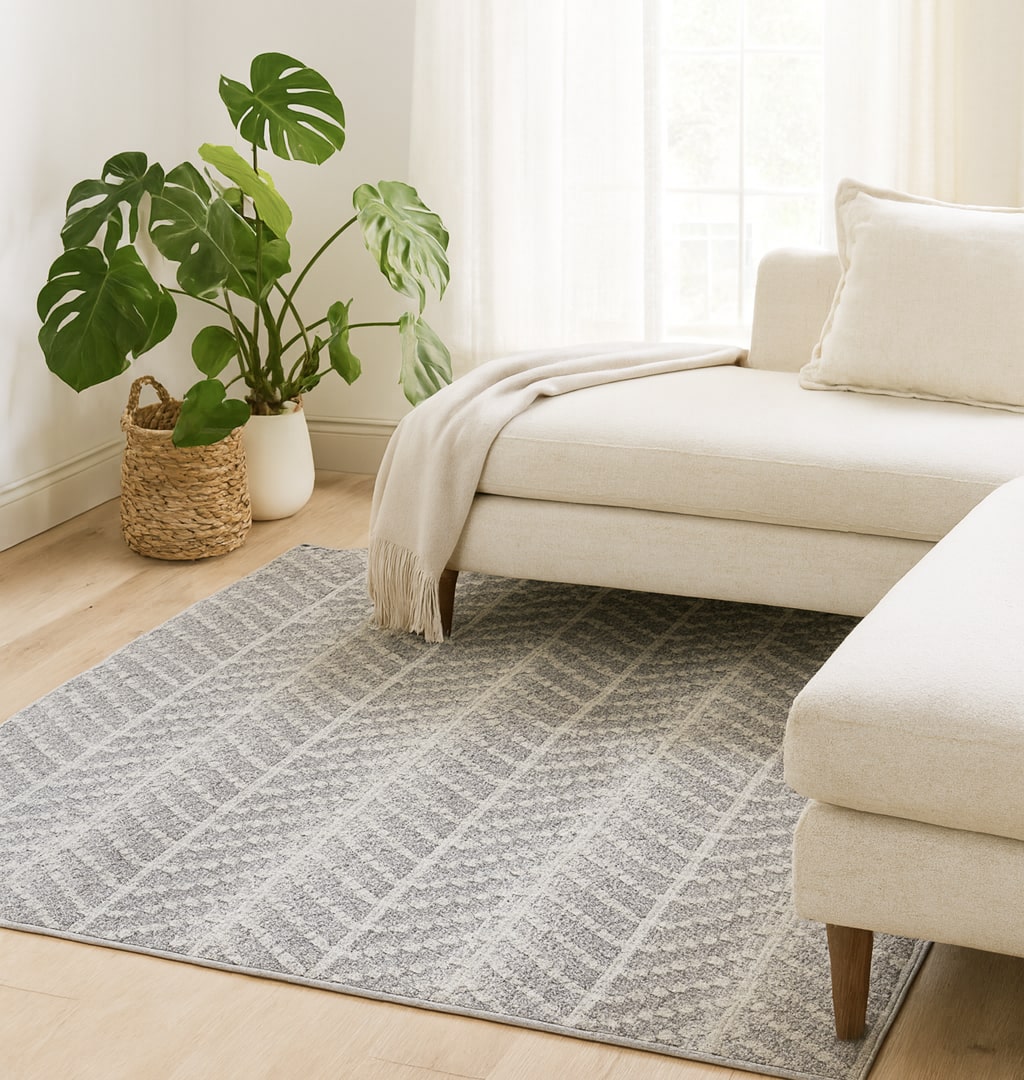
Paulina Nieliwocki, owner of Blue Jasmine Floral, at home with our Ciato Blue Vintage Modern Rug
As the first part of our new “At Home With” series, we visit Paulina Nieliwocki, owner of the award-winning studio, Blue Jasmine Floral.
Does anything say springtime more than a colorful bunch of flowers? With more flowers available in spring than any other season, it’s the perfect time to bring vibrant and fresh new life into your home by adding a freshly cut arrangement.
We spoke to Paulina about her design philosophy, how she’s staying inspired while quarantining, and a few tips for incorporating flowers into our daily lives. Finally, she walks us through 8 steps to making your own truly beautiful and unique asymmetrical tulip floral arrangement!
Read on for the full interview with the Garden State-based artist and scroll to the bottom for the full step-by-step tutorial!

In the Blue Jasmine Floral studio
Q: How did you get started with Blue Jasmine Floral?
The nutshell version is that I was an AP Spanish teacher. I love teaching and loved my job but was looking for something more. Flowers have been something I’ve loved since I was a little girl. I started dabbling in it and decided it was now or never. I left teaching and dove in head-first six years ago this last month - our business anniversary actually just passed on April 15th!
Q: Tell us about your design philosophy.
I love texture. I love fashion too, and the color of the year. Living Coral is everywhere now, and Classic Blues are starting to come up. I also love smaller flowers. The smaller and sweeter the flowers, the more intricate, textural, and interesting a piece becomes.

Q: How are you keeping busy while quarantined?
I have an upcoming flower shipment coming in which I’m so excited to play with. They’re from a tulip farm and they mentioned they just had extra tulips and offered [them to me] so I said “YES, of course, I’ll take them!” Around the home, instead of purchasing things, I've also challenged myself to reuse existing decor. I’m taking pieces from other parts of the house to reinvent them in a new way. I’ve been gardening, too - trying to get the gardening beds cleaned out. 
Paulina’s Bengal cat, Saki
Overall, our business is dealing with rescheduled events so I’ve been busy working on the logistics of that. I’m putting some new mood-boards together with different flowers due to seasonal changes, as well as calming down stressed clients. Unfortunately, I also had to close my retail sector of the business because we were deemed a nonessential business and am using this time to innovate and improve on existing practices.
Q: What are your recommendations for those new to keeping flowers in the home?
Having perennials is great. You plant them once and they come back every year.
Plant things that bloom in different seasons, too. Cut flowers and bring them in. Cut them, cut them, cut them. You don’t need to be a florist to do this -- bring them into the living room, dining room, bathroom -- you’ll have life everywhere. When you play with flowers, the secret to keeping them alive is a bit of diluted bleach water. It kills the bacteria in the water!

Tabletop flowers pictured with our Ciato Blue Vintage Modern Rug
Q: What are some simple ways that you recommend for integrating flowers in people’s lives?
Flowers elevate your mood, which is also scientifically proven! It’s the color and the scent that elevate your mood. Even if for half a second, it’s half a second of joy that you didn’t have before. They’re short bursts of joy you get throughout the day, whenever you keep your eyes open to them.
For one of my home subscription clients, we replaced a bowl that she had used as a decor piece on her entryway table for some time. We simply styled cut branches in a different vase each week, bringing nature in. While it was just branches, the green is almost a neutral [color] and brought a calming effect.

Blooming color in Paulina's living room
Q: Any last tips for those looking to dip their toes in flower arrangements that are quick and easy to pick up?
You can start with just your everyday grocery store flowers and make them your own. First and most importantly, strip the foliage off, which is a lot of what they use as filler. Separate the flowers by variety and play with it. Make a few baby bouquets and get creative!
Finish this sentence:
A cozy rug and beautiful floral arrangement in the home go together like: peanut butter and jelly. They are both great alone but better together!
The #1 tip for loving your space is making it your own.
When I begin a new project, I always start with the color.
This post is a part of our “At Home With” series, highlighting influential voices in the home and lifestyle spaces. Want to be a part of our series or have someone to nominate? Email us at hi@wellwoven.com.
DIY ASYMMETRICAL TULIPS ARRANGEMENT IN 8 EASY STEPS
By Blue Jasmine Floral
MATERIALS:
- Medium Sized Mason Jar
- Scissors
- Waterproof Tape
- 20 Tulips
- Diluted Bleach Water (1/4 tsp bleach : 1 qt water)
- Ribbon (optional)

Step 1:
Lightly clean off (pluck and snip) excess leaves from the tulips.
Step 2:
Make a grid with tape on the top of the mason jar. Be sure to seal the edge with one continuous wrap of tape. Fill the jar 3/4 of the way full with the water and bleach mixture.
Step 3:
Take 3 tulips in varying heights and place in far left side of the mason jar.
Step 4:
Continue filling in the left side with tulips cut in heights that get shorter from the tallest tulip already in the jar.

Step 5:
Start to fill in the middle with shorter cuts/lengths, tulips should be close to the tape grid. Continue filling in until just the far right openings are left to fill.

Step 6:
Begin to place stems on the far right of the mason jar - cut a little longer than the center cuts.

Step 7:
Plug in tulips nice and low at the front of the vase and at the back.

Step 8:
Finish with some ribbon to cover the tape.

The Final Result:
Now, enjoy and watch them open!

Share:
Moms Tell All: What to Do When the Whole Family’s at Home 24/7
No Place for Hate: A Letter to the Well Woven Community